A picture is worth a thousand words, and when it comes to your WordPress blog, your featured image is worth even more.
A well-chosen featured image can help to capture your reader’s attention and convey the tone and message of your post.
In this blog post, I will discuss some tips for choosing the perfect WordPress Featured Image Size.
I will also provide you with a few resources that can help you get started!
What is WordPress Featured Image?
A featured image is an image that represents a post or page.
It is often used to display in the header or as a thumbnail on blogrolls.
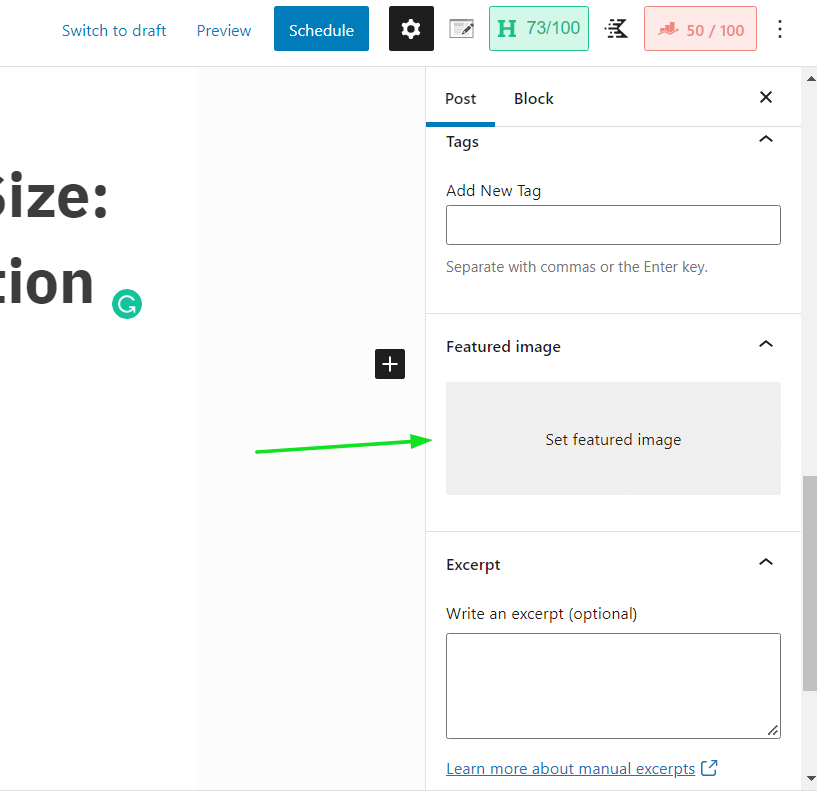
You can set a featured image when you create or edit a post or page.
In WordPress, the featured image is also known as the post thumbnail.
The term “featured image” was introduced in WordPress version two-nine-six.
Why you should add WordPress Featured Image?
Adding a featured image is important because it gives your post or page an added layer of meaning and context.
A good featured image can also help to make your post more shareable on social media.
In addition, if you have a WordPress theme that uses thumbnails, adding a featured image will help to make your blog look more professional and polished.
How to add WordPress Featured Image?
Adding a featured image to your WordPress post or page is easy!
First, you will need to find an image that you would like to use.
You can search for free stock photos online, or you can use one of your own images.
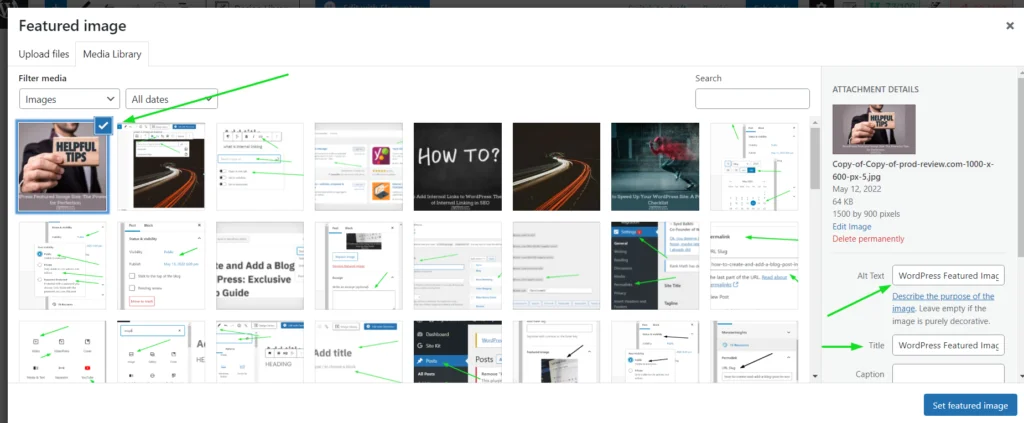
Once you have found an image, click on the “Add Media” button in the WordPress editor.
This will open up the WordPress media library.
Next, click on the “Upload Files” tab and select the image that you would like to use from your computer.
Finally, click on the “Insert into post” button. And that’s it! Your featured image has been added.
Tips for choosing the perfect features image
Now that you know how to add a featured image, it’s time to learn how to choose the perfect size.
The recommended size for a WordPress featured image is 1200×628 pixels.
However, I would recommend that you upload an image that is at least 1500×1500 pixels.
This will ensure that your image looks sharp on all devices, including high-resolution screens.
In addition, try to avoid using images with text or logos as your featured image.
While these types of images can be attention-grabbing, they can also be confusing and difficult to read on small screens.
Finally, make sure that your featured image is relevant to the content of your post or page.
A good featured image should help to convey the message of your post and engage your reader.
If you need help finding the perfect image for your next post or page, check out these free stock photo websites:
– Unsplash
– Pexels
– Pixabay
Tips to optimize your featured image
Once you have found the perfect image, there are a few things that you can do to optimize it for your WordPress blog.
First, you will want to make sure that your image is saved in the correct file format.
The two most common file formats are JPG and PNG.
JPG images are best suited for photos, while PNG images are best suited for graphics or images with transparent backgrounds.
Second, you will want to make sure that your image is compressed.
This means that the file size is reduced without affecting the quality of the image.
You can use a free online tool like TinyPNG to compress your images.
Finally, you should add a title and alt text to your image.
The title is the text that appears when you hover over an image, while the alt text is the text that appears if an image can’t be displayed.
Adding a title and alt text to your images helps to improve your website’s SEO and make your site more accessible.
Make sure you add your focused keyword in the alt text for the image, this helps you with the SEO of your blog post.
Final Thoughts
I hope you found this article helpful! Adding a WordPress featured image is a great way to make your blog posts and pages more visually appealing.
Also, see
WordPress Pre Publish checklist
How to add Meta Description in WordPress
Exclusive Google Analytics Setup Guide Checklist

